
Tool records & inventory
What to Photograph When Recording Your Tools
The small set of photographs that makes a tool record far more useful without filling your phone with duplicates.
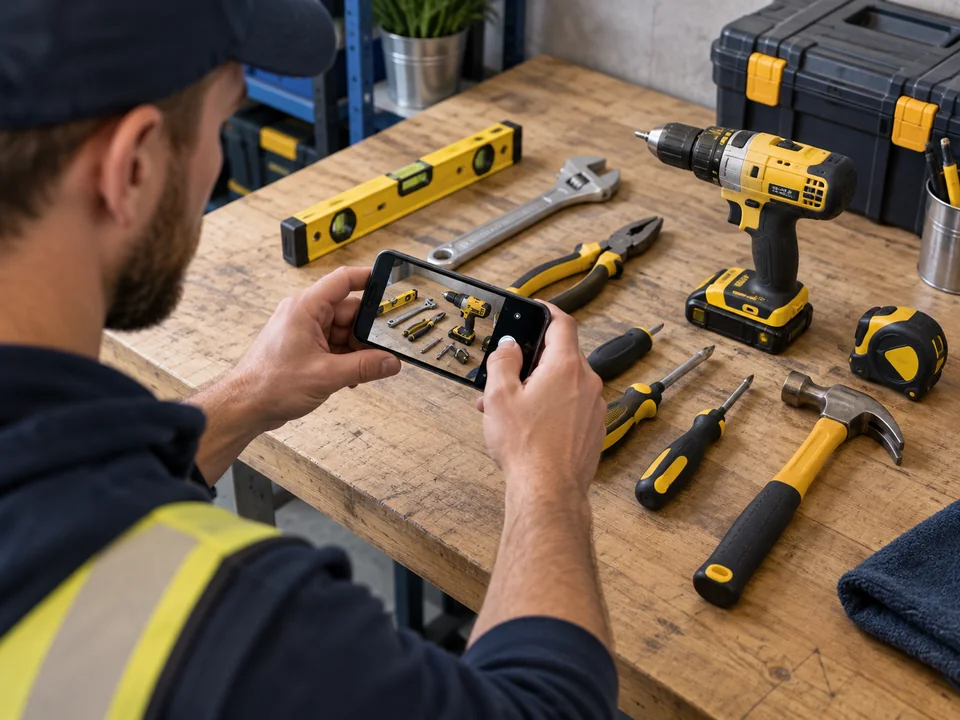
Good tool photographs are evidence, not product photography. A small set of clear images should identify the item, show its serial number and capture any distinctive marks that would help tell it apart.
Take one clean overall photograph
Place the tool where the whole item is visible and use even light. Avoid covering important areas with your hand, case or accessories. The image should make it obvious which tool the record describes.
You do not need a studio background. A workshop bench or plain floor is fine if the tool is clearly separated from clutter.
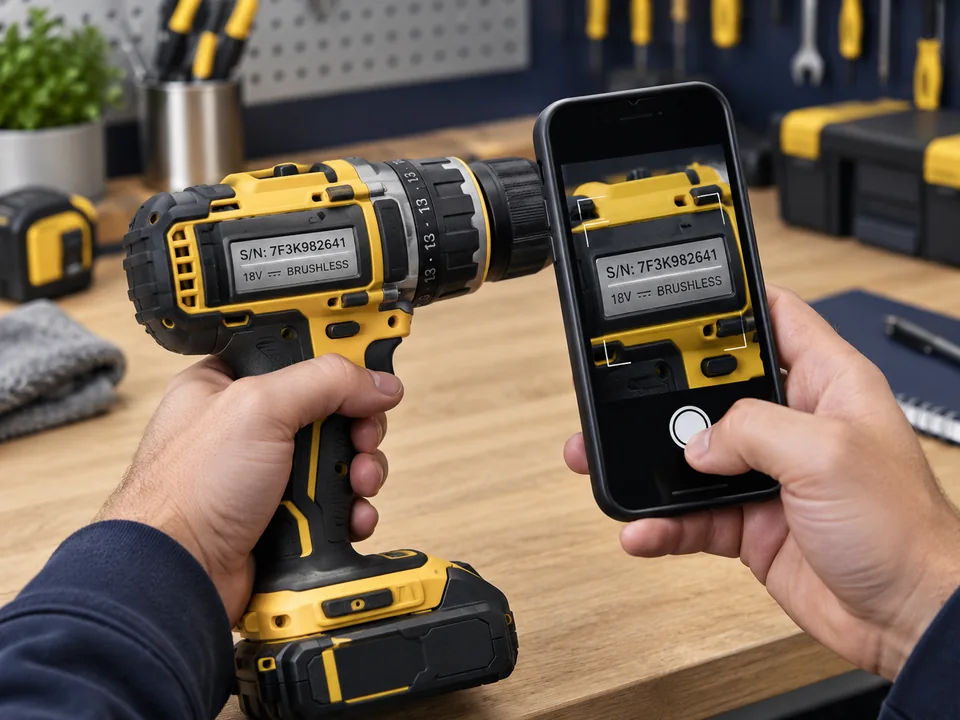
Photograph the serial and model plate
Move close enough for characters to be readable. Tap to focus, avoid glare and take a second angle if a reflective plate is difficult to capture. Check the image before putting the tool away.
Police.uk specifically recommends recording serial numbers for tools and keeping photographs of valuable items.
Capture distinctive marks
Photograph engravings, property marks, unusual scratches, paint marks, stickers or repairs that could help distinguish the tool from another unit of the same model.
If you use a forensic or coded property-marking system, record enough information to understand what was applied and where.
Include important accessories when relevant
For a kit, photograph the case, batteries, charger and specialist attachments if they add meaningful value or have their own identifiers. Do not create dozens of redundant images of low-value consumables unless your business needs that detail.
Keep the record proportionate to the importance of the asset.
Retake photographs after significant changes
Update images after a housing replacement, major repair, new property marking or other change that makes the old photo misleading. There is no need to retake pictures simply because time has passed.
If an identifier label is starting to wear, capture a sharp image before it becomes unreadable.
Store the images with the record
A perfect photograph buried among thousands of personal photos is hard to use. Link the images to the tool entry so you can retrieve them alongside serial numbers, receipts and purchase details.
When you export a report, check that the important images remain legible at the size used.
Common questions
Things people often ask.
How many photos does each tool need?+
For most tools, one clear full-tool photo, one serial-number close-up and any distinctive marks are enough. Add more only where they provide useful identification.
Can I use manufacturer product photos?+
They can help illustrate a model but they do not show that a specific unit belongs to you. Your own photos of the physical tool are more useful for identification.
Should I include the case and batteries?+
Include them when they have meaningful value, unique identifiers or are part of the insured kit. Keep the record proportionate rather than photographing every low-value accessory.
Official sources & further reading
Check the current guidance.
Rules, tax treatment, policy conditions and security advice can change. These official sources support the practical guidance above and are the right place to verify current requirements.
How to Record Tool Serial Numbers Properly
A simple method for recording serial numbers so your tool inventory is actually useful when you need it.
Read guide →
How to Keep Tool Receipts and Proof of Purchase
A simple system for keeping purchase evidence attached to the tools it belongs to.
Read guide →
How to Protect Tools in a Work Van
Practical habits that can reduce opportunity for theft and improve the records you have if something goes wrong.
Read guide →